
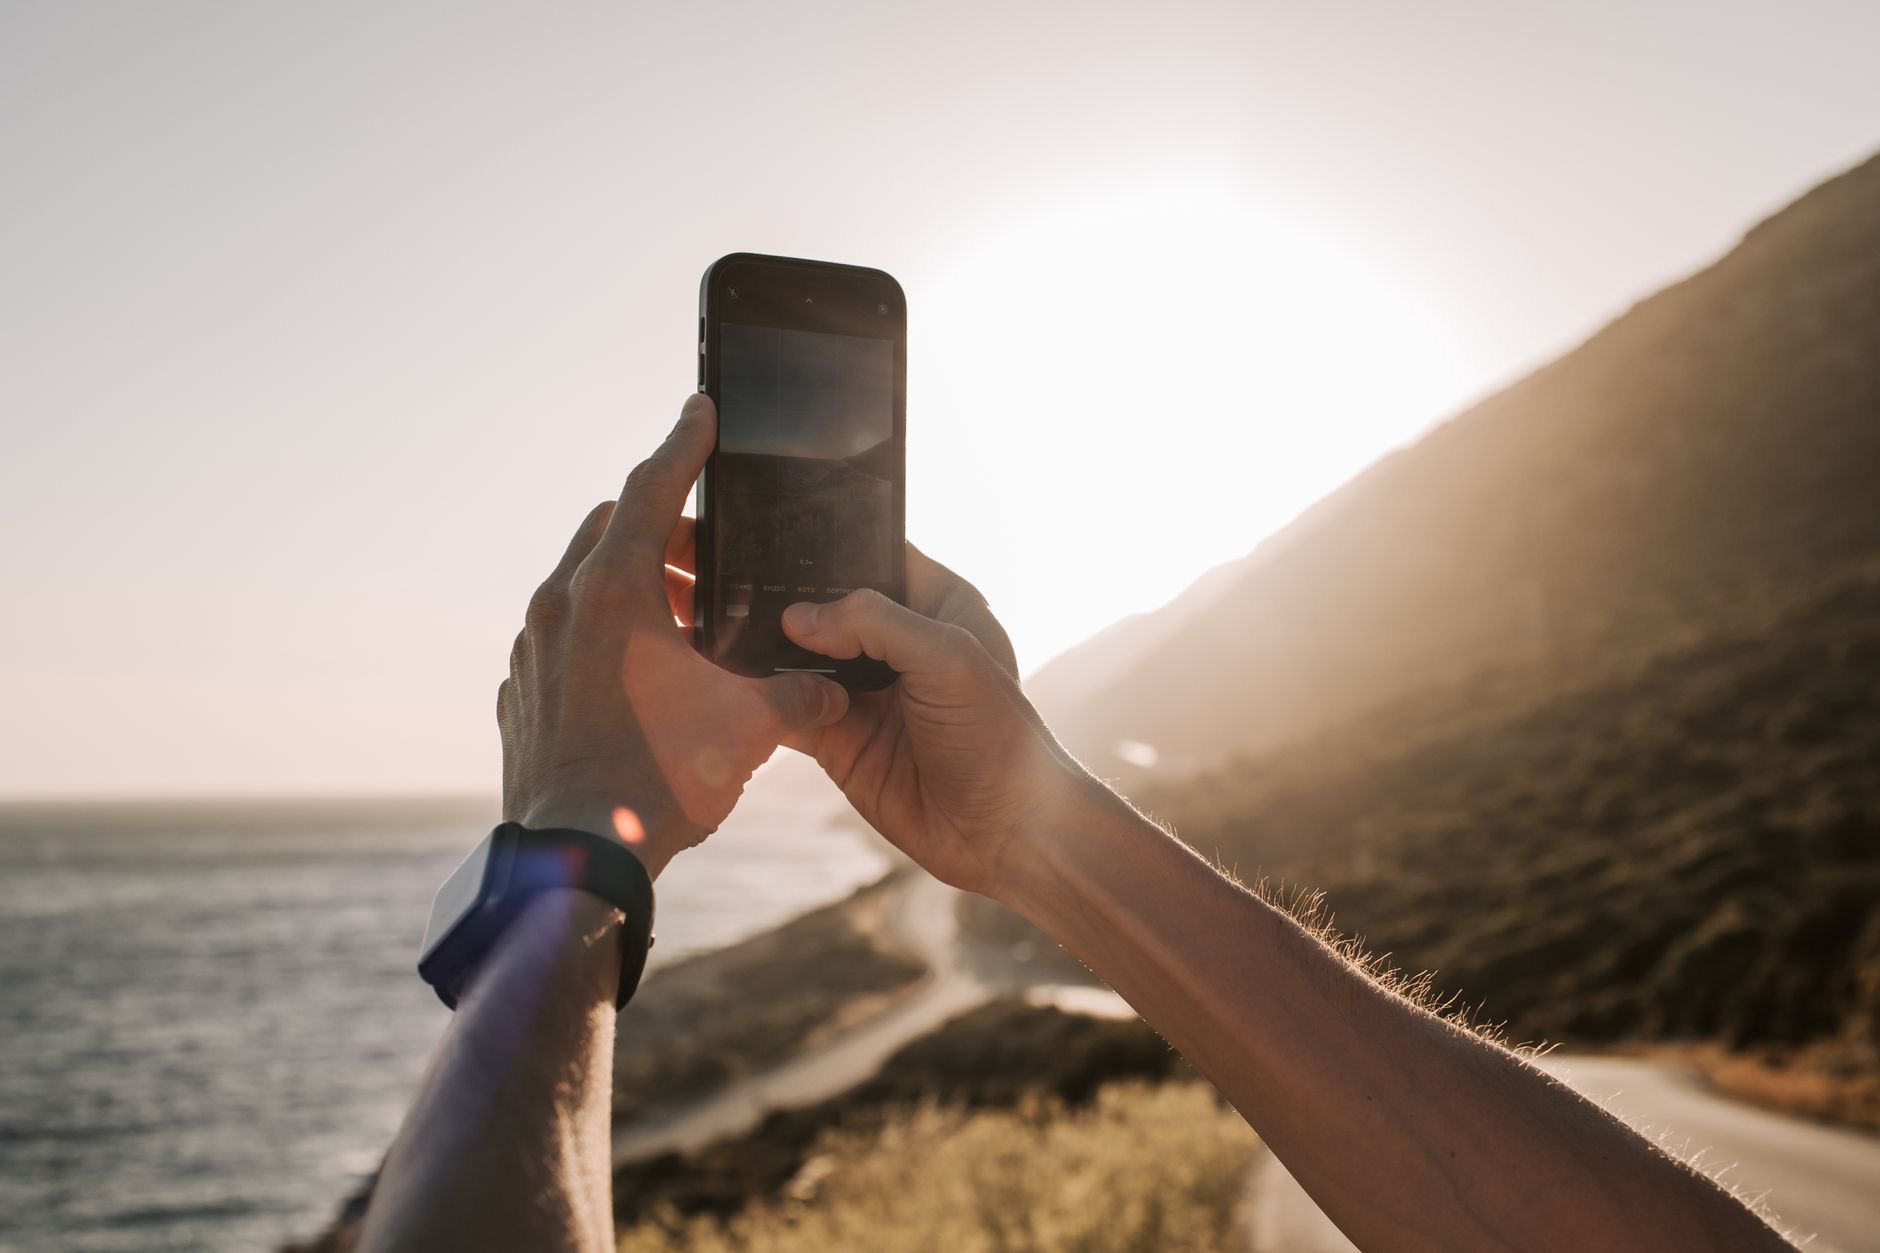
The iPhone in your pocket is a genuinely capable camera, but most people use only a fraction of what it can do. The difference between an average snapshot and a great photo often comes down to a few simple techniques anyone can learn. Here are practical iPhone camera tips that will dramatically improve your photos, no professional skills required.
1. Turn On the Grid for Better Composition
Enabling the camera grid overlays lines that help you compose your shots more deliberately. A classic technique is to place your subject along these lines or where they intersect, rather than dead center, which often creates a more balanced, interesting photo. The grid also helps you keep horizons straight. It is a tiny change that instantly makes you think more about composition, which is one of the biggest factors in a good photo.
2. Tap to Focus and Set Exposure
Before you shoot, tap on your subject on the screen to tell the camera what to focus on, and you can then slide to adjust the brightness. This simple habit ensures the right part of your photo is sharp and well-lit, rather than leaving it to chance. Taking that extra second to tap and adjust makes a real difference, especially in tricky lighting where the camera might otherwise guess wrong.
3. Chase Good Light
Light is the single most important ingredient in photography. Soft, natural light, such as near a window or during the softer hours of morning and late afternoon, is far more flattering than harsh midday sun or dim indoor lighting. Before you shoot, notice where the light is coming from and position yourself and your subject to make the most of it. Good light turns an ordinary photo into a beautiful one more than any camera feature can.
4. Get Closer or Use the Right Lens
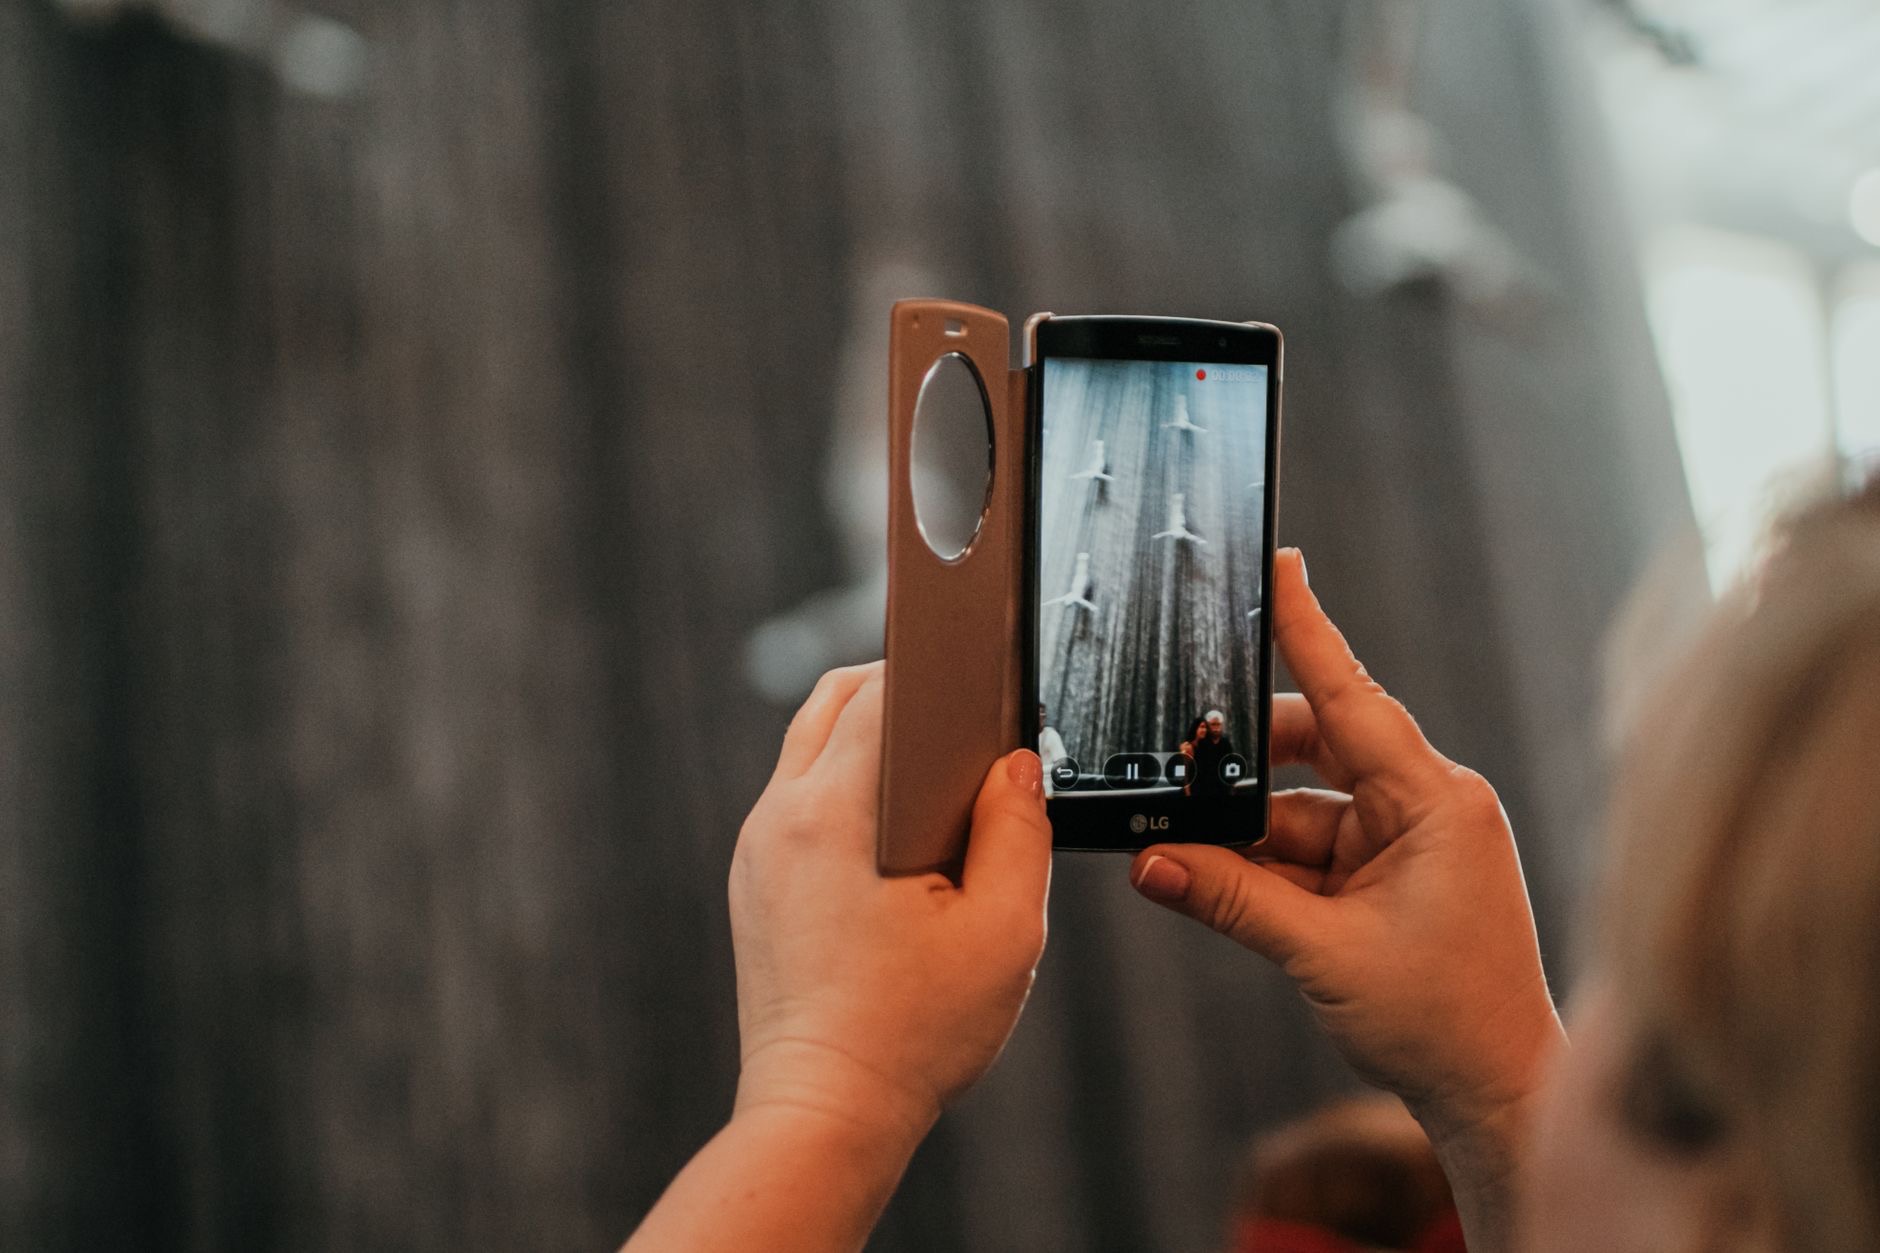
Instead of relying heavily on digital zoom, which reduces quality, try physically moving closer to your subject. If your iPhone has multiple lenses, learn what each is best for: an ultra-wide for landscapes and tight spaces, and a telephoto, on models that have one, for getting closer while keeping quality. Choosing the right approach for the shot preserves detail and gives you more flexibility than zooming in on a single lens.
5. Use Portrait Mode for People and Objects
Portrait mode creates a pleasing blurred background that makes your subject stand out, mimicking the look of a professional camera. It is wonderful for photos of people, pets, and even objects. Experiment with it to give your subjects that polished, separated-from-the-background look. Just leave a little space around your subject and let the camera work its magic for a noticeably more professional-looking result.
6. Steady Your Shot
Blurry photos are often caused by camera shake. Hold your iPhone with both hands, brace your elbows against your body, or rest the phone on a stable surface for sharper results, especially in lower light. For the steadiest possible shots, a small tripod is a worthwhile accessory. Simply being mindful of stability eliminates a huge number of disappointing, slightly-soft photos.
7. Edit Your Photos
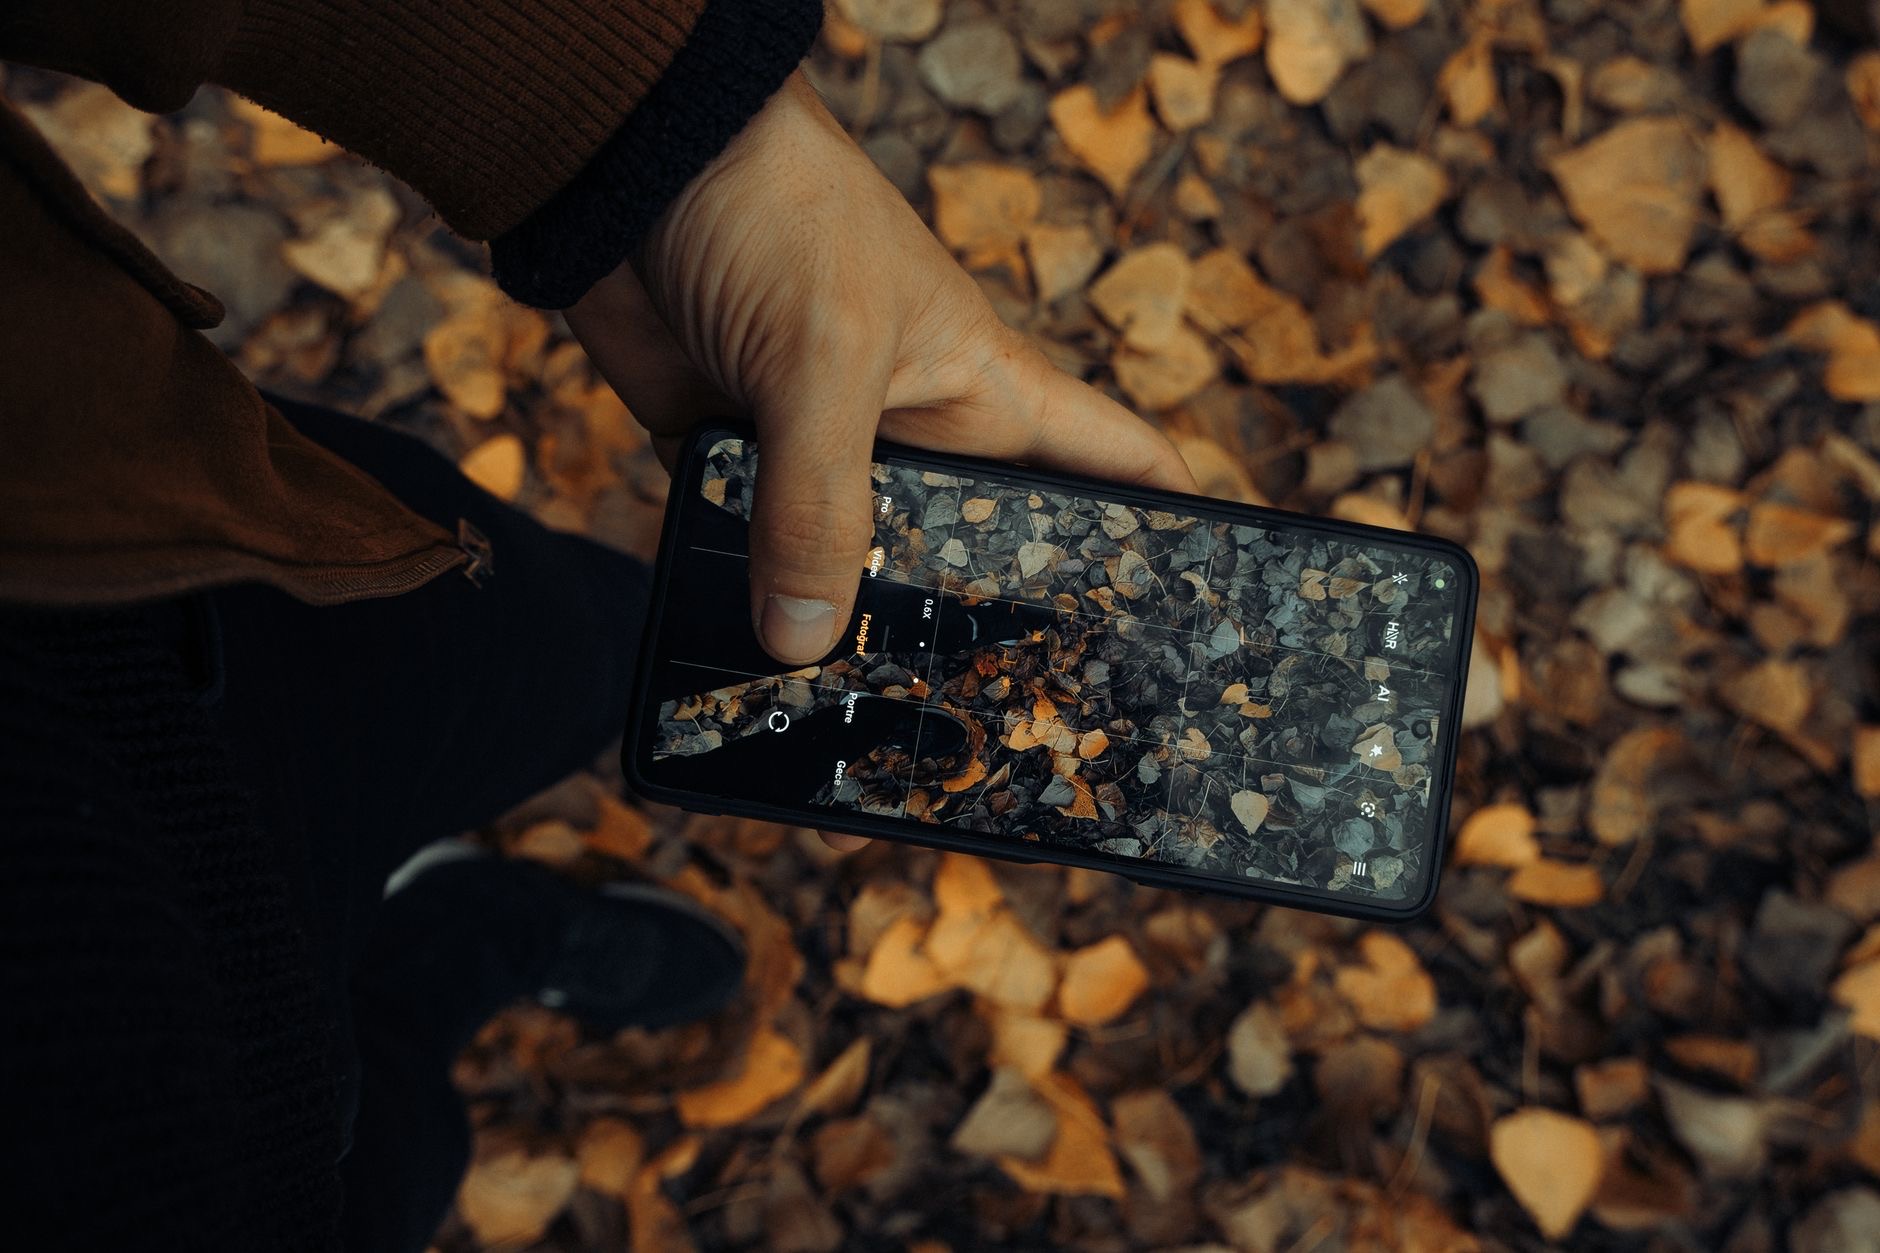
Some of the biggest improvements happen after you shoot. The built-in editing tools let you adjust brightness, contrast, color, and more, and even small tweaks can transform a flat photo into a vibrant one. You do not need fancy apps to start, since the built-in editor is powerful. Spend a moment adjusting your best shots and you will be amazed how much better they look with a little polish.
8. Try Night Mode in Low Light
In dim conditions, night mode, available on capable models, gathers more light over a short period to produce brighter, clearer low-light photos. Hold steady while it captures, since it takes a moment longer than a normal shot. It transforms dark scenes that would otherwise come out murky into surprisingly clear images, making it one of the most impressive modern camera capabilities.
9-12. More Ways to Level Up
A few final tips round things out. Use burst mode for action or unpredictable subjects like kids and pets, then pick the best frame. Clean your lens, since a smudged lens is a shockingly common cause of soft, hazy photos. Experiment with different angles, shooting from low or high rather than always at eye level, for more interesting perspectives. And take lots of shots, since even professionals capture many frames to get one great one. Photography rewards practice and experimentation more than any single trick.
★ Editor's Pick · Amazon
Phone Tripod & Camera Kit
Steady shots and more creative angles for your iPhone
Gear: Tripod · Lens Kit · Ring Light
Frequently Asked Questions
How do I take sharper photos with my iPhone?
Tap your subject on screen to set focus, hold the phone steady with both hands or brace it on a surface, and clean your lens, which is a common cause of soft photos. In low light, use night mode and keep still while it captures. A small tripod helps for the steadiest shots.
What is the best lighting for iPhone photos?
Soft, natural light is best, such as near a window or during the softer morning and late-afternoon hours. Harsh midday sun and dim indoor lighting are less flattering. Noticing where light comes from and positioning your subject accordingly improves photos more than any camera feature.
Should I use the camera grid?
Yes. The grid helps you compose more deliberately, placing your subject along the lines or intersections rather than dead center for a more balanced shot, and keeping horizons straight. It is a small change that makes you think about composition, a key factor in good photos.
When should I use Portrait mode?
Use Portrait mode for people, pets, and objects you want to stand out. It creates a pleasing blurred background that separates your subject, mimicking a professional camera. Leave a little space around your subject and let the camera produce that polished, professional-looking result.
Do I need editing apps for good iPhone photos?
No. The built-in editing tools are powerful, letting you adjust brightness, contrast, and color. Even small tweaks can transform a flat photo into a vibrant one. Editing is where some of the biggest improvements happen, and you can achieve great results without any extra apps.
How does night mode work?
Night mode, on capable models, gathers more light over a short period in dim conditions to produce brighter, clearer low-light photos. Hold steady while it captures, since it takes a moment longer than a normal shot. It turns murky dark scenes into surprisingly clear images.
The Bottom Line
Great iPhone photos come from technique far more than expensive gear. Turn on the grid, tap to focus, chase good light, steady your shots, and edit your best frames, and your photos will improve dramatically without any professional skills. The camera you already carry is remarkably capable, so put these simple tips into practice, take plenty of shots, and enjoy watching your everyday photos turn into ones you are genuinely proud of.
Leave a Reply