
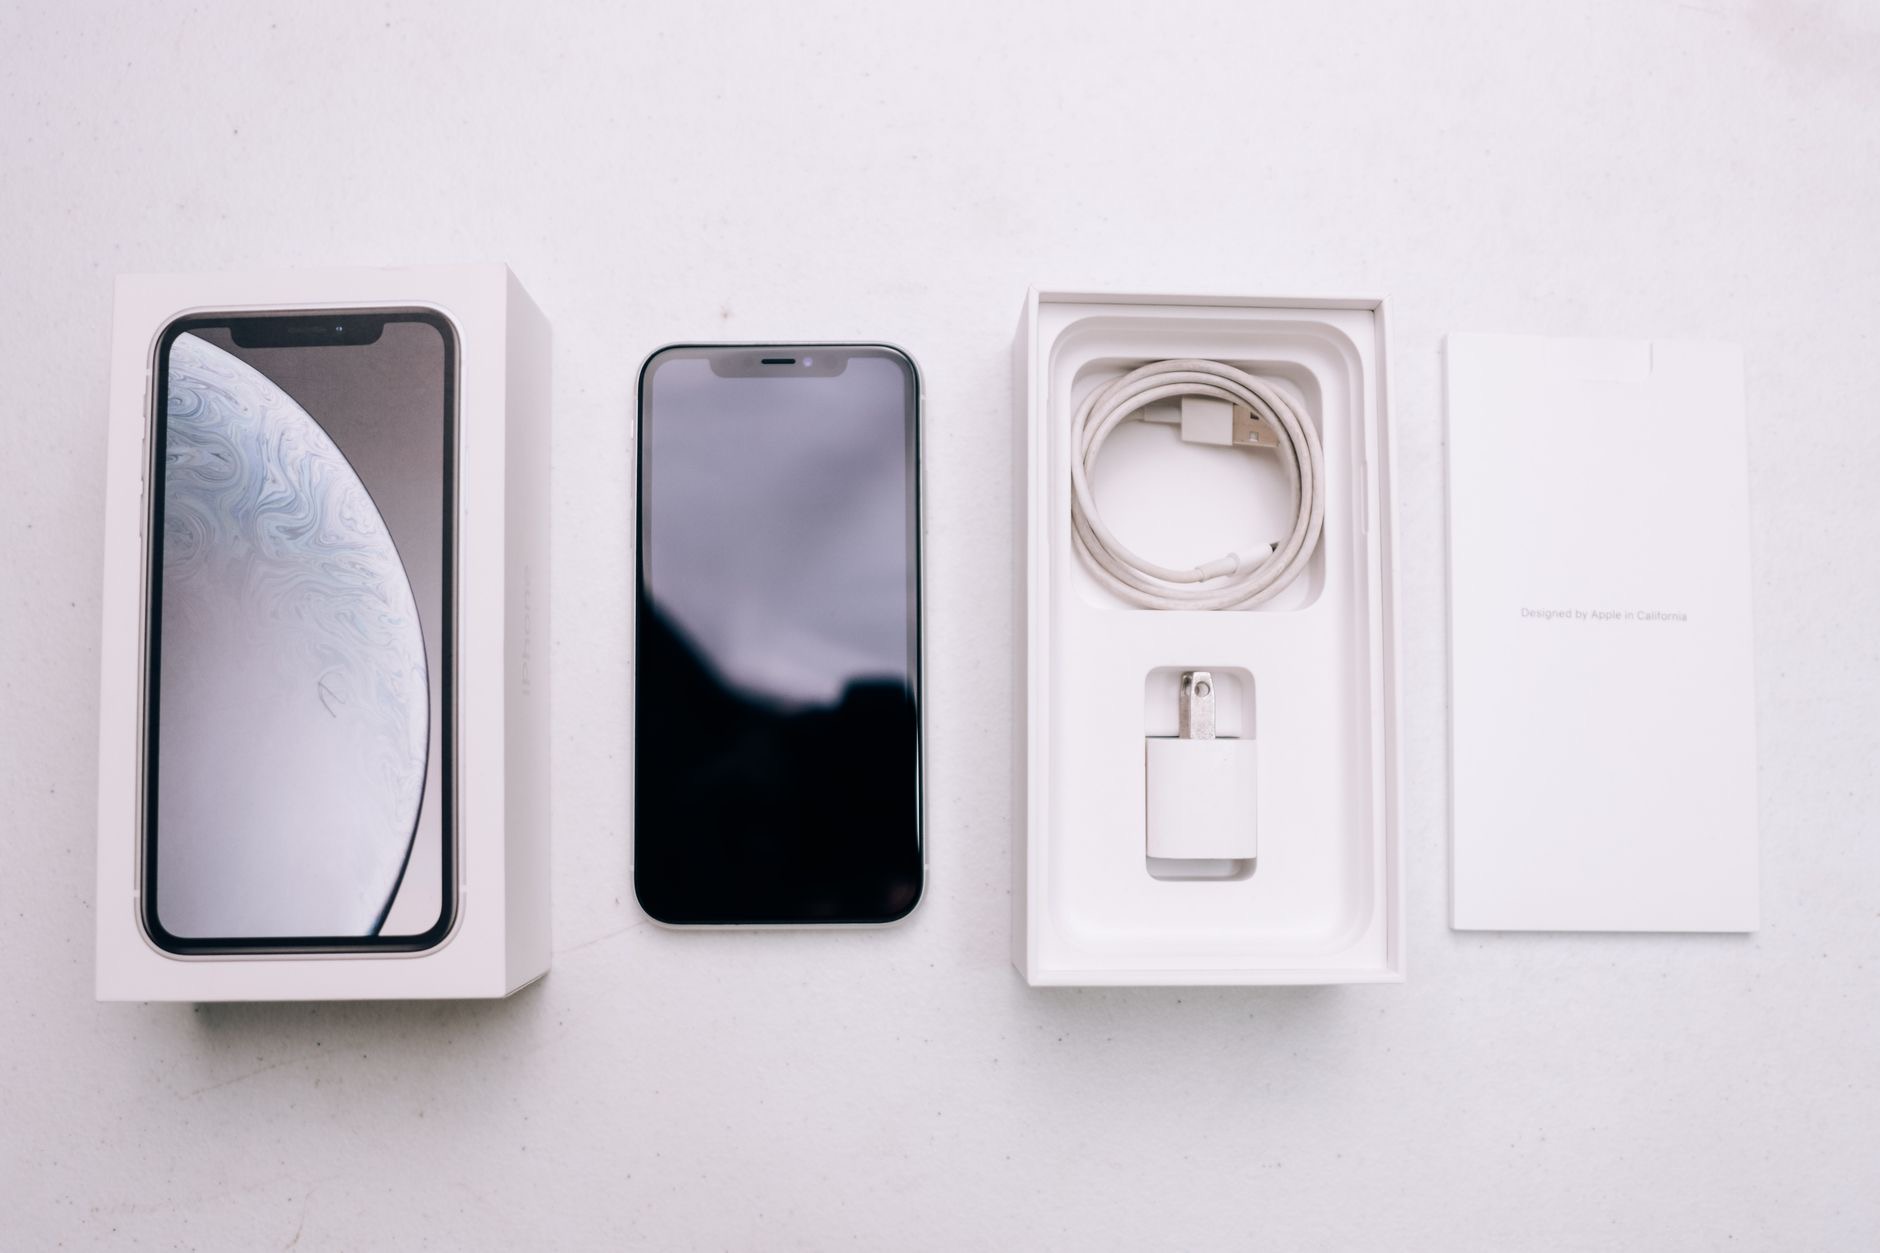
Unboxing a new iPhone is one of life's small joys, that clean glass, that satisfying setup screen. But how you set it up in those first few minutes shapes how smoothly the next few years go. Rush it, and you may end up missing data or fiddling with settings for weeks. Take it step by step, and your new iPhone will feel like home almost instantly. Here is exactly how to set up a new iPhone the right way, from the first tap to the finishing touches.
Before You Begin: A Quick Checklist
A little preparation makes the whole process glide. If you are upgrading, make sure your old iPhone has a recent backup and is updated, keep it nearby and charged, and have your Wi-Fi password and Apple account details handy. Crucially, do not erase or trade in your old phone until the new one is fully set up and you have confirmed everything moved across. Keeping the old device intact until the very end is your safety net if anything goes sideways.
Step 1: Power On and Choose Your Basics
Turn on your new iPhone and you will be guided through the early choices, language, region, and connecting to Wi-Fi. Take a moment here rather than rushing, since getting your region and connection right makes everything that follows smoother. Once you are connected to a solid Wi-Fi network, the setup process can pull in your data and updates without a hitch. These first steps are quick, but doing them carefully sets a clean foundation for the rest.
Step 2: Bring Over Your Data
This is the heart of the setup, and you have a few good options. The easiest is the direct transfer, where you bring your old iPhone close to the new one and move everything across directly. Alternatively, you can restore from an iCloud or computer backup. Whichever you choose, your apps, photos, messages, and settings come with you, so the new phone feels familiar from the start. Our guide to transferring to a new iPhone walks through each method in detail.
Step 3: Set Up Face ID or Touch ID and a Passcode
Security comes next, and it is worth doing properly. Set up Face ID or Touch ID so you can unlock your phone and authorize purchases quickly and securely, and choose a strong passcode as the backbone of your phone's protection. These take only a moment and protect everything on your device, so do not skip or rush them. A well-secured iPhone from day one saves you worry later and keeps your data safe if the phone is ever lost or stolen.
Step 4: Sign In and Get Your Apps
Sign in with your Apple account to connect your new iPhone to your photos, purchases, and services. If you transferred or restored from a backup, your apps will download automatically, so give them time to reappear, they may trickle in over a little while, especially over Wi-Fi. If you started fresh, head to the app store and download the apps you use most. Either way, within a short time your familiar apps will be back in place, ready to sign into.
Step 5: Get the Key Settings Right Early
A few settings are worth sorting on day one so your phone behaves how you want from the start. Turn on automatic backups so your new phone is protected, as our backup guide explains. Review which apps can send notifications and access your location, so you are not bombarded or tracked unnecessarily. And adjust the basics like brightness, display, and sounds to your taste. Spending a few minutes here makes the phone feel properly yours rather than generic.
Step 6: Re-Pair Your Devices and Check Everything
Now reconnect the things that live alongside your phone, your watch, earbuds, and car, and confirm the important stuff actually came across. Check your photos, messages, and most-used apps are all present and that you can sign into them. Do this while your old phone is still intact, so if anything is missing you can sort it out easily. Catching gaps now, on day one, is far less stressful than discovering weeks later that something never transferred.
Finally: Deal With Your Old iPhone
Once you are certain everything is working on the new phone, you can safely handle the old one. Sign out of your Apple account on it, then erase it completely before selling, trading in, or passing it on, so none of your data remains. A properly wiped, signed-out iPhone is worth more and protects your privacy. If you are selling it, our used iPhone checklist shows exactly what a buyer will want to verify, so you can present it well.
| Stage | Don't skip |
|---|---|
| Before setup | Back up the old phone, keep it nearby |
| During setup | Transfer data, set security, sign in |
| After setup | Check everything moved, then wipe the old phone |
Quick Answers
How do I set up a new iPhone?Power it on, connect to Wi-Fi, and follow the prompts. Transfer your data from your old phone or a backup, set up Face ID or Touch ID and a passcode, sign in with your Apple account, and check everything came across.
How do I move everything to my new iPhone?Use the direct transfer by bringing your old iPhone close to the new one, or restore from an iCloud or computer backup. Both bring your apps, photos, messages, and settings.
Should I back up before setting up a new iPhone?Yes. Make sure your old iPhone has a recent backup first, and keep it intact until the new phone is fully set up and you have confirmed everything transferred.
How long does setting up a new iPhone take?The core setup is fairly quick, but apps and photos may keep downloading in the background for a while afterward, especially over Wi-Fi. Stay connected until it finishes.
What settings should I set up first?Turn on automatic backups, review notifications and location access, set up Face ID or Touch ID and a strong passcode, and adjust display and sounds to your taste.
What do I do with my old iPhone?Once everything is confirmed on the new phone, sign out of your Apple account and erase the old one fully before selling, trading in, or giving it away.
Switching From Android to iPhone
If your new iPhone is replacing an Android phone rather than an older iPhone, the setup is a little different but still designed to be smooth. Apple offers a dedicated tool that helps move your contacts, photos, messages, and more across from Android during the new iPhone's setup, so you are not starting from a blank slate. The main thing to plan for is your apps: Android apps do not transfer, so you will re-download your favourites from the app store, and you may need to repurchase any paid apps that do not offer a free iPhone version. Your contacts and photos, the things most people care about most, move across smoothly. Set aside a little extra time, keep both phones charged and on Wi-Fi, and follow the on-screen steps. Switching platforms feels daunting, but the process is far gentler than people fear, and within a short while your new iPhone will feel like home, with your important information already in place.
The Honest Bottom Line
Setting up a new iPhone the right way is mostly about not rushing. Back up your old phone, transfer your data, secure the new one with Face ID or Touch ID and a passcode, sign in, and get the key settings right early. Then check everything moved before you wipe the old phone.
Do that, and your new iPhone feels like home from day one. Which step are you on? Tell me in the comments and I will help with any snags.
Leave a Reply