
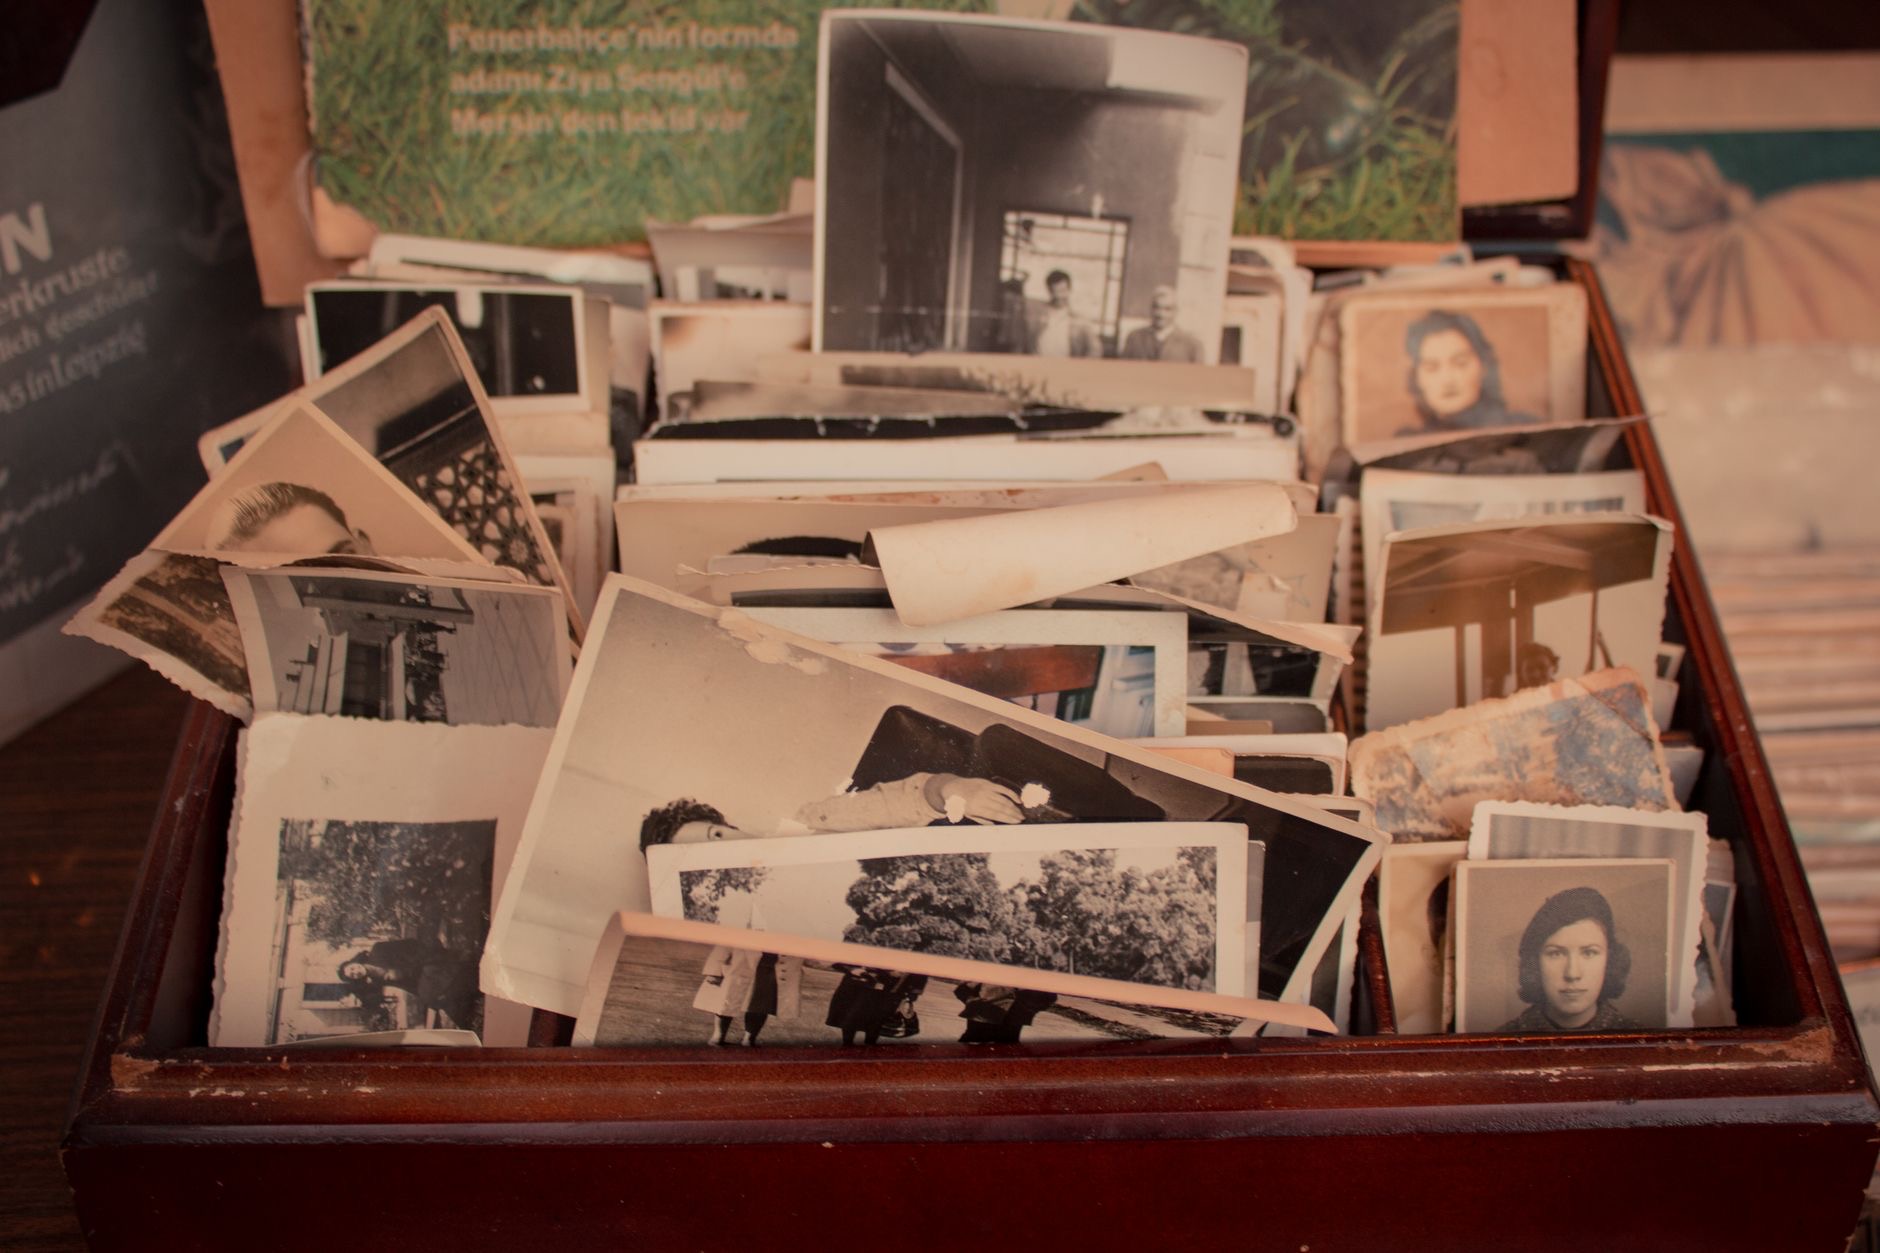
Somewhere in a closet, a shoebox is doing a terrible job as a family archive. The prints inside are fading, sticking together, and one water leak away from gone. Your iPhone can rescue all of it this weekend, no scanner required, and done right, the copies will outlast the originals by forever. Here is how to digitize old photos with your iPhone, properly.
Why the iPhone Is Enough
The camera in your pocket out-resolves those old prints by a comfortable margin, which means a well-taken photo of a photo captures everything the print has to give. The scanner you have been meaning to buy for ten years is not the missing piece. Technique is. Light, angle, and steadiness decide whether your copies look like archives or like photos of photos, and all three are easy to get right once you know the rules.
Light Is Everything
Find soft, even, indirect light. A table near a bright window on an overcast day is the classic setup, daylight without direct sun. What you are avoiding is glare, the shiny hotspot that erases faces, and shadows, including your own leaning over the print. If a window is not cooperating, a ring light solves the problem on demand, throwing even light that makes every print look its best at any hour. It is the single biggest quality upgrade in this whole project.
★ Editor's Pick · Amazon
Ring Light
Even, glare-free light for every print, any hour
Size: Larger ring light · Compact
Shoot Square-On and Dead Steady
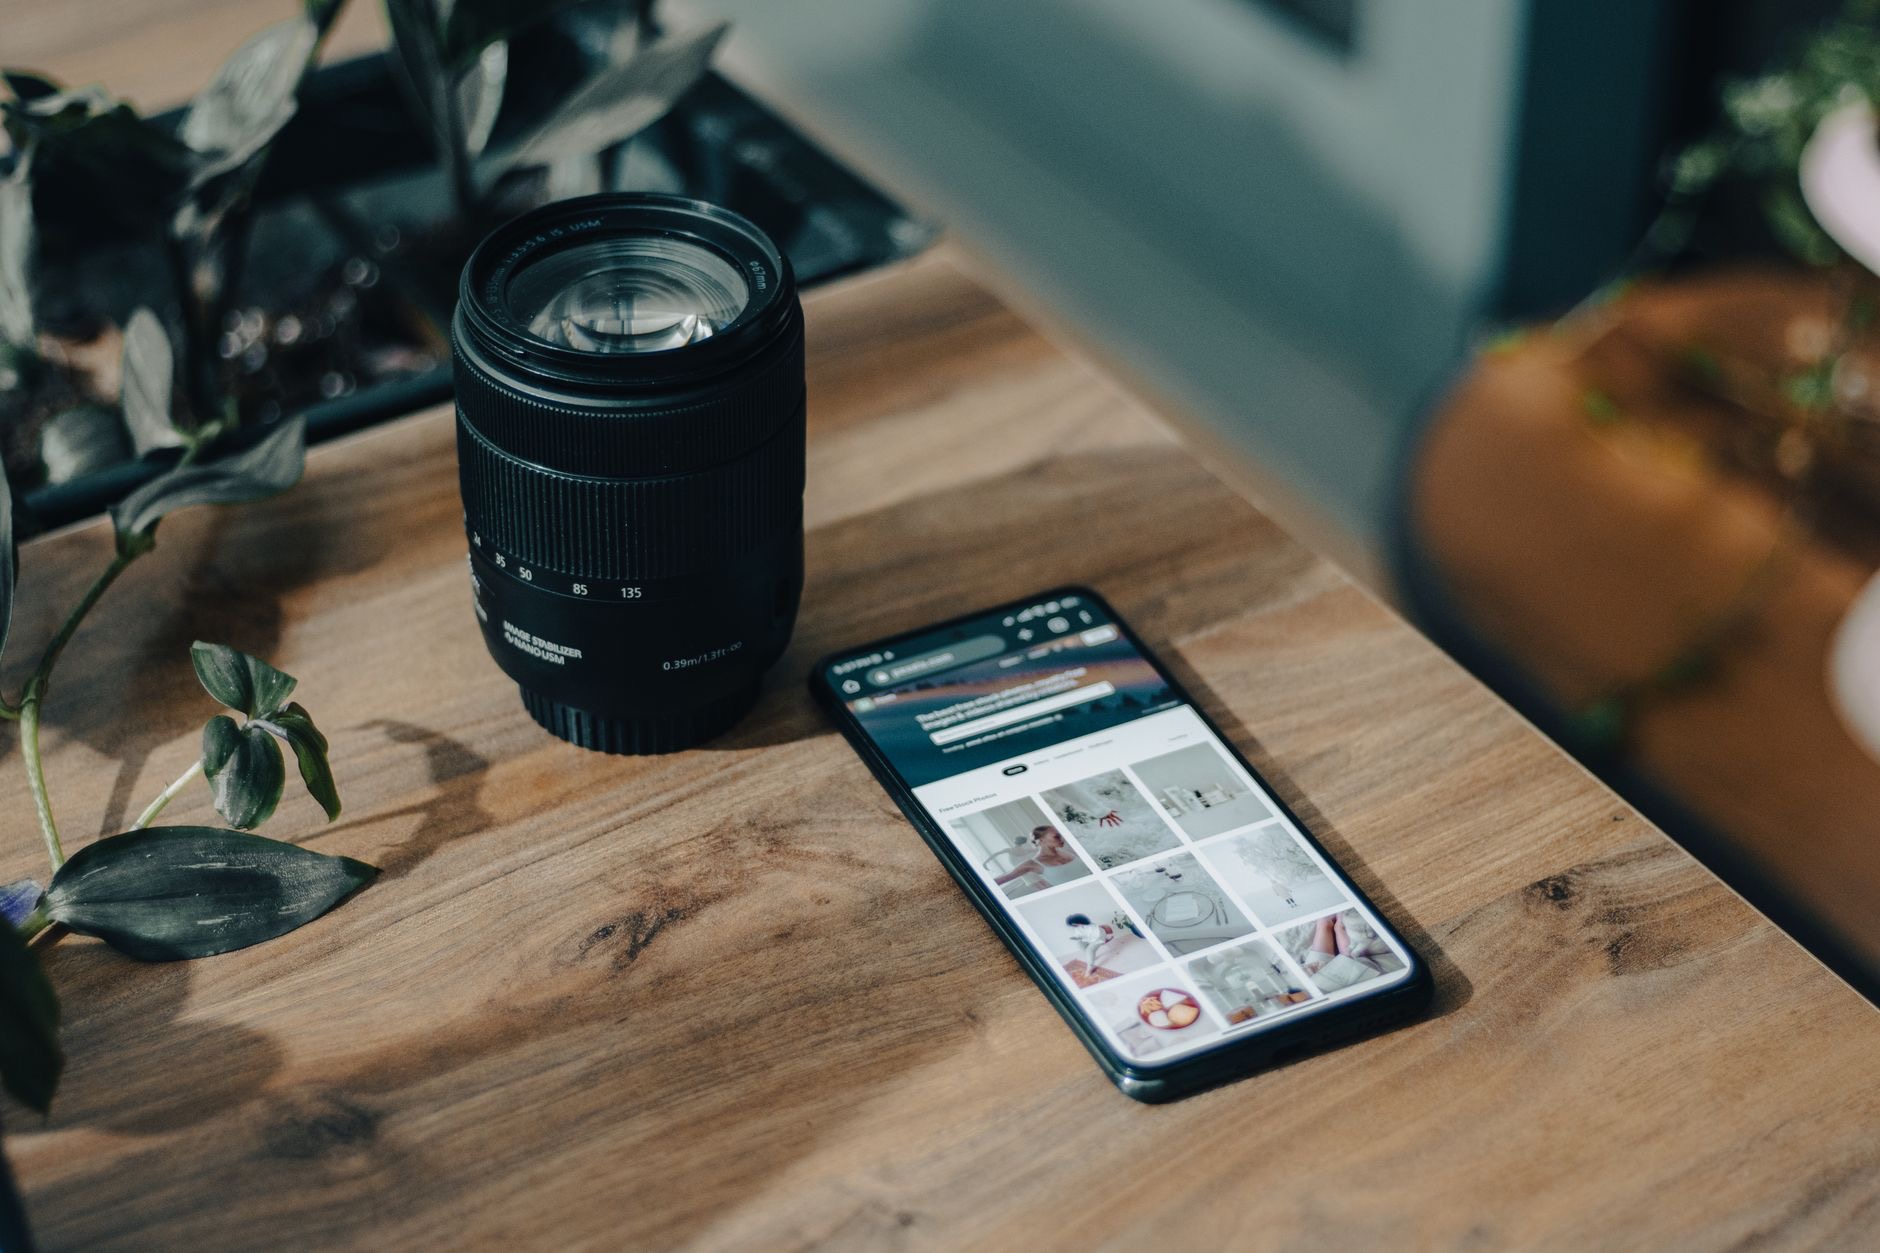
Lay the print flat, position the phone directly above it, parallel to the surface, and fill the frame without cropping the edges. Angled shots warp the image; handheld shots blur the fine detail that makes old photos precious. A tripod holding the phone level over the table turns this from a wobbly chore into an assembly line: slide a print in, tap, slide the next. For a shoebox with hundreds of photos, the tripod is what makes finishing realistic.
★ Editor's Pick · Amazon
iPhone Tripod
Turns a shoebox project into an assembly line
The Details That Separate Good From Great
Wipe your lens first, always. Wipe dust off each print with a soft, dry cloth before shooting. Turn off flash forever, it is where glare comes from. Tap to focus on the print, and let each shot settle before moving. For photos stuck in albums under plastic, shoot at a slight angle only if glare forces you to, and otherwise free the print if it releases easily. None of this is hard. All of it shows in the result.
Name Them While You Still Know Who They Are
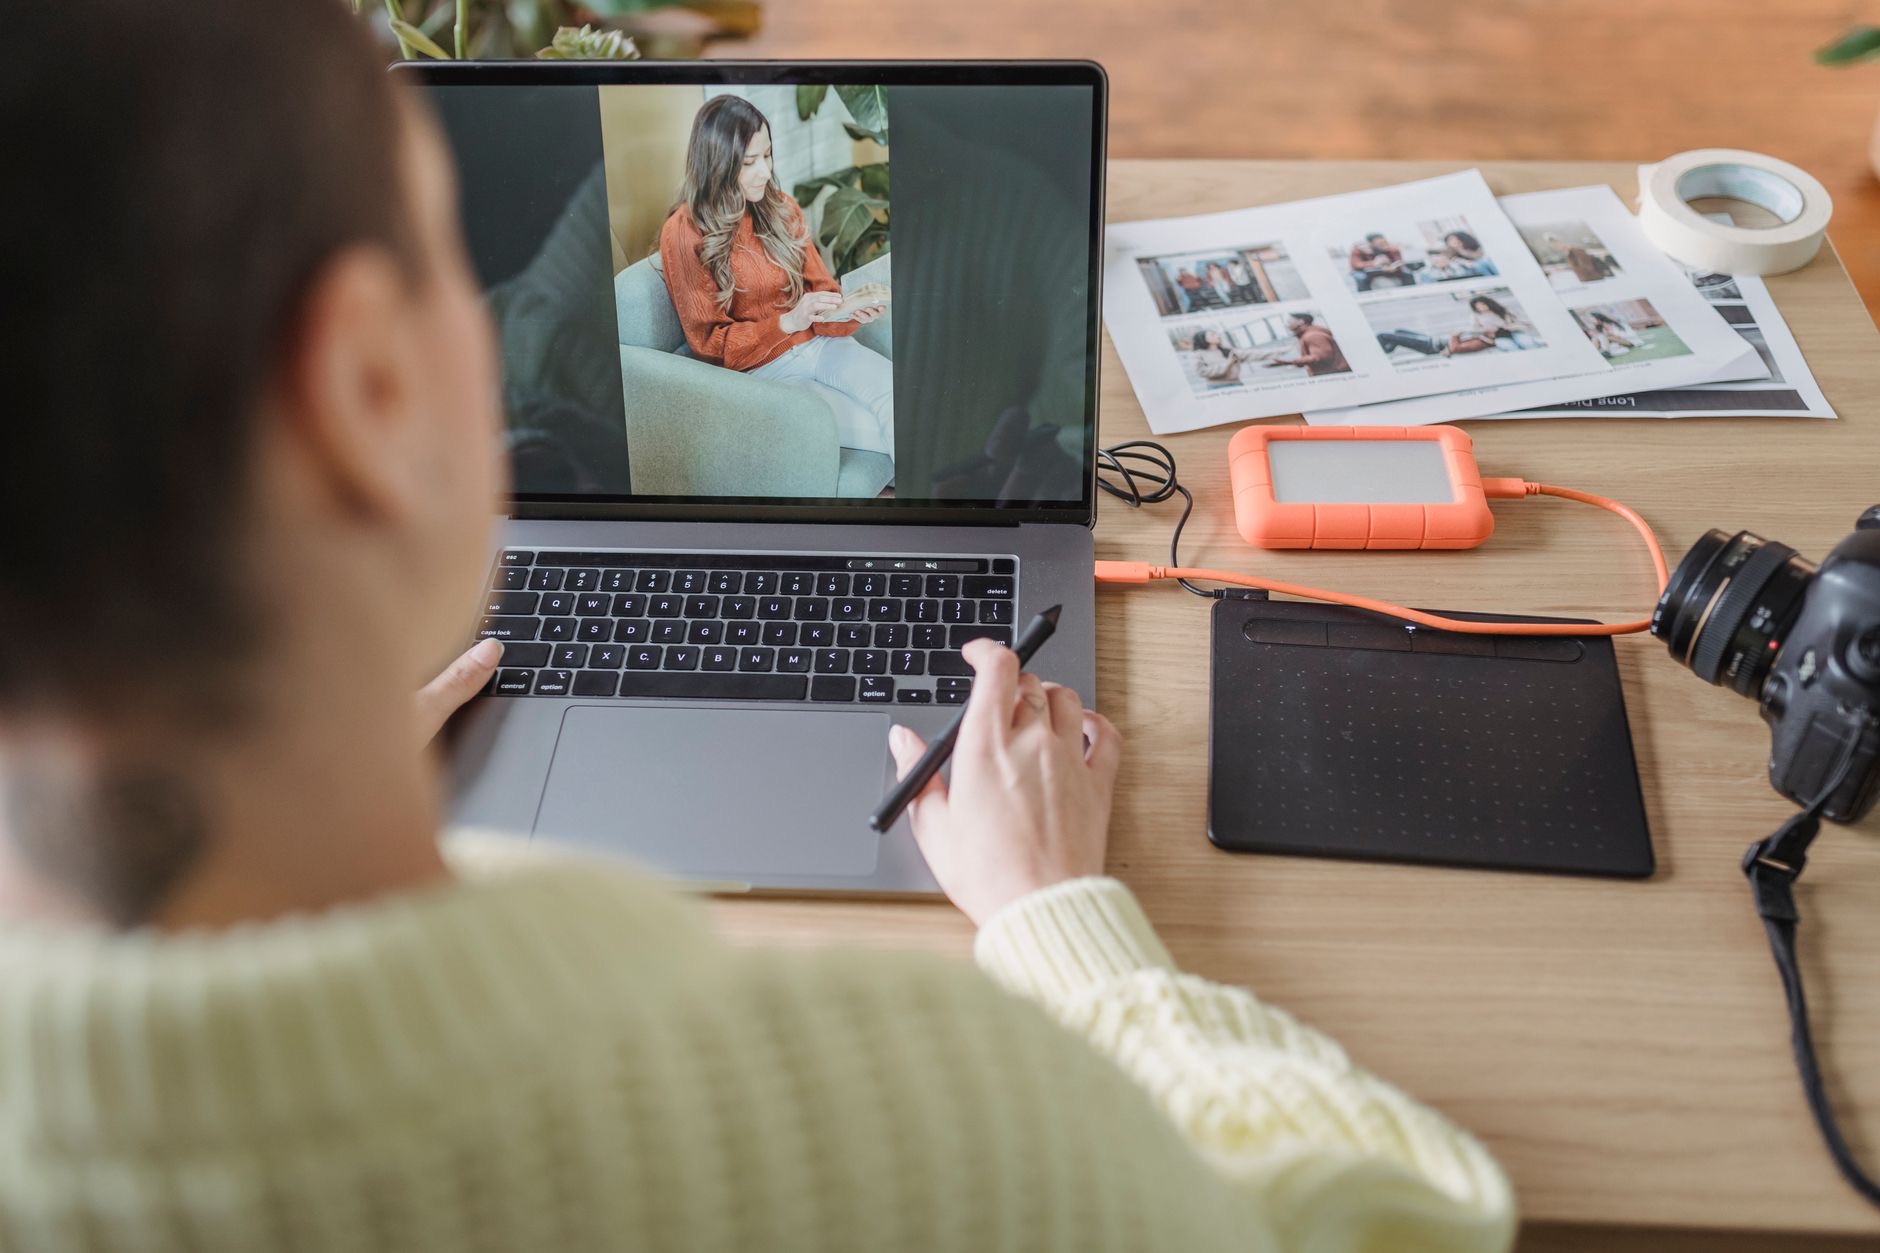
Here is the step everyone skips and everyone regrets: capture the information while the people who remember are still around to ask. Photograph the backs of prints with handwriting. Add names, places, and dates to the files or album descriptions as you go. A digitized photo of unknown people in an unknown year is barely rescued at all. Twenty minutes with a parent or grandparent naming faces can be the most valuable part of the entire project.
Make the Rescue Permanent
You did not do all this to store the only copies on one phone. Back the archive up twice: once in the cloud, once on a drive that lives somewhere safe. A portable SSD swallows a family's entire photographic history with room to spare, and handing copies to siblings turns one fragile shoebox into a family archive that cannot be lost by any single disaster. That redundancy is the actual finish line. The shoebox was one accident from gone. The archive never will be.
★ Editor's Pick · Amazon
Portable SSD
The family archive, safe in two places forever
| Step | The rule |
|---|---|
| Light | Soft and even, no flash, no glare |
| Angle | Square-on, parallel, edges in frame |
| Steadiness | Tripod over the table, assembly-line style |
| Afterward | Name the faces, back up twice |
Frequently Asked Questions
Can I really digitize old photos with just an iPhone?
Yes. The camera captures more detail than old prints contain, so a well-lit, square-on, steady shot preserves everything the print has. Technique replaces the scanner: soft even light, phone parallel to the print, tripod for steadiness, and no flash, ever.
How do I avoid glare on glossy photos?
Use soft, indirect light, a bright window without direct sun or a ring light, and turn the flash off permanently. If a print under album plastic still throws glare, shift your angle slightly or free the print if it releases easily. Glare is a lighting problem, and lighting is fixable.
What is the fastest way to do hundreds of photos?
Build a station: tripod holding the phone level above the table, ring light for constant conditions, then slide prints through one after another. The setup takes ten minutes and turns a dreaded project into an hour or two of steady, mindless progress per shoebox.
Should I write down who is in the photos?
It might be the most valuable step of all. Photograph handwritten backs, add names and dates as you go, and sit with an older relative while they can still name the faces. An unlabeled archive is only half rescued, and the knowledge fades faster than the prints do.
How should I store the digitized photos?
Twice, minimum: a cloud copy for convenience and a portable SSD kept somewhere safe for permanence. Hand copies to siblings too. The point of the project is that no single disaster, leak, fire, or lost account, can ever take the family archive again.
Do I need a scanning app or just the camera?
The camera does beautifully for prints with the technique above. Document scanning features are brilliant for letters and paperwork in the same shoebox, flattening and cropping automatically. Use the camera for photographs and the scanner for documents, and the whole box gets rescued.
The Bottom Line
The shoebox is fading on its own schedule, and your iPhone is the rescue tool you already own. Soft even light, square-on framing, a tripod running an assembly line, and the flash off forever: that is the whole technique. Then do the two steps that make it matter, naming the faces while someone still can, and backing the archive up in two places so no single accident can ever take it. One weekend, and the most irreplaceable photos your family owns become permanent.
Leave a Reply