
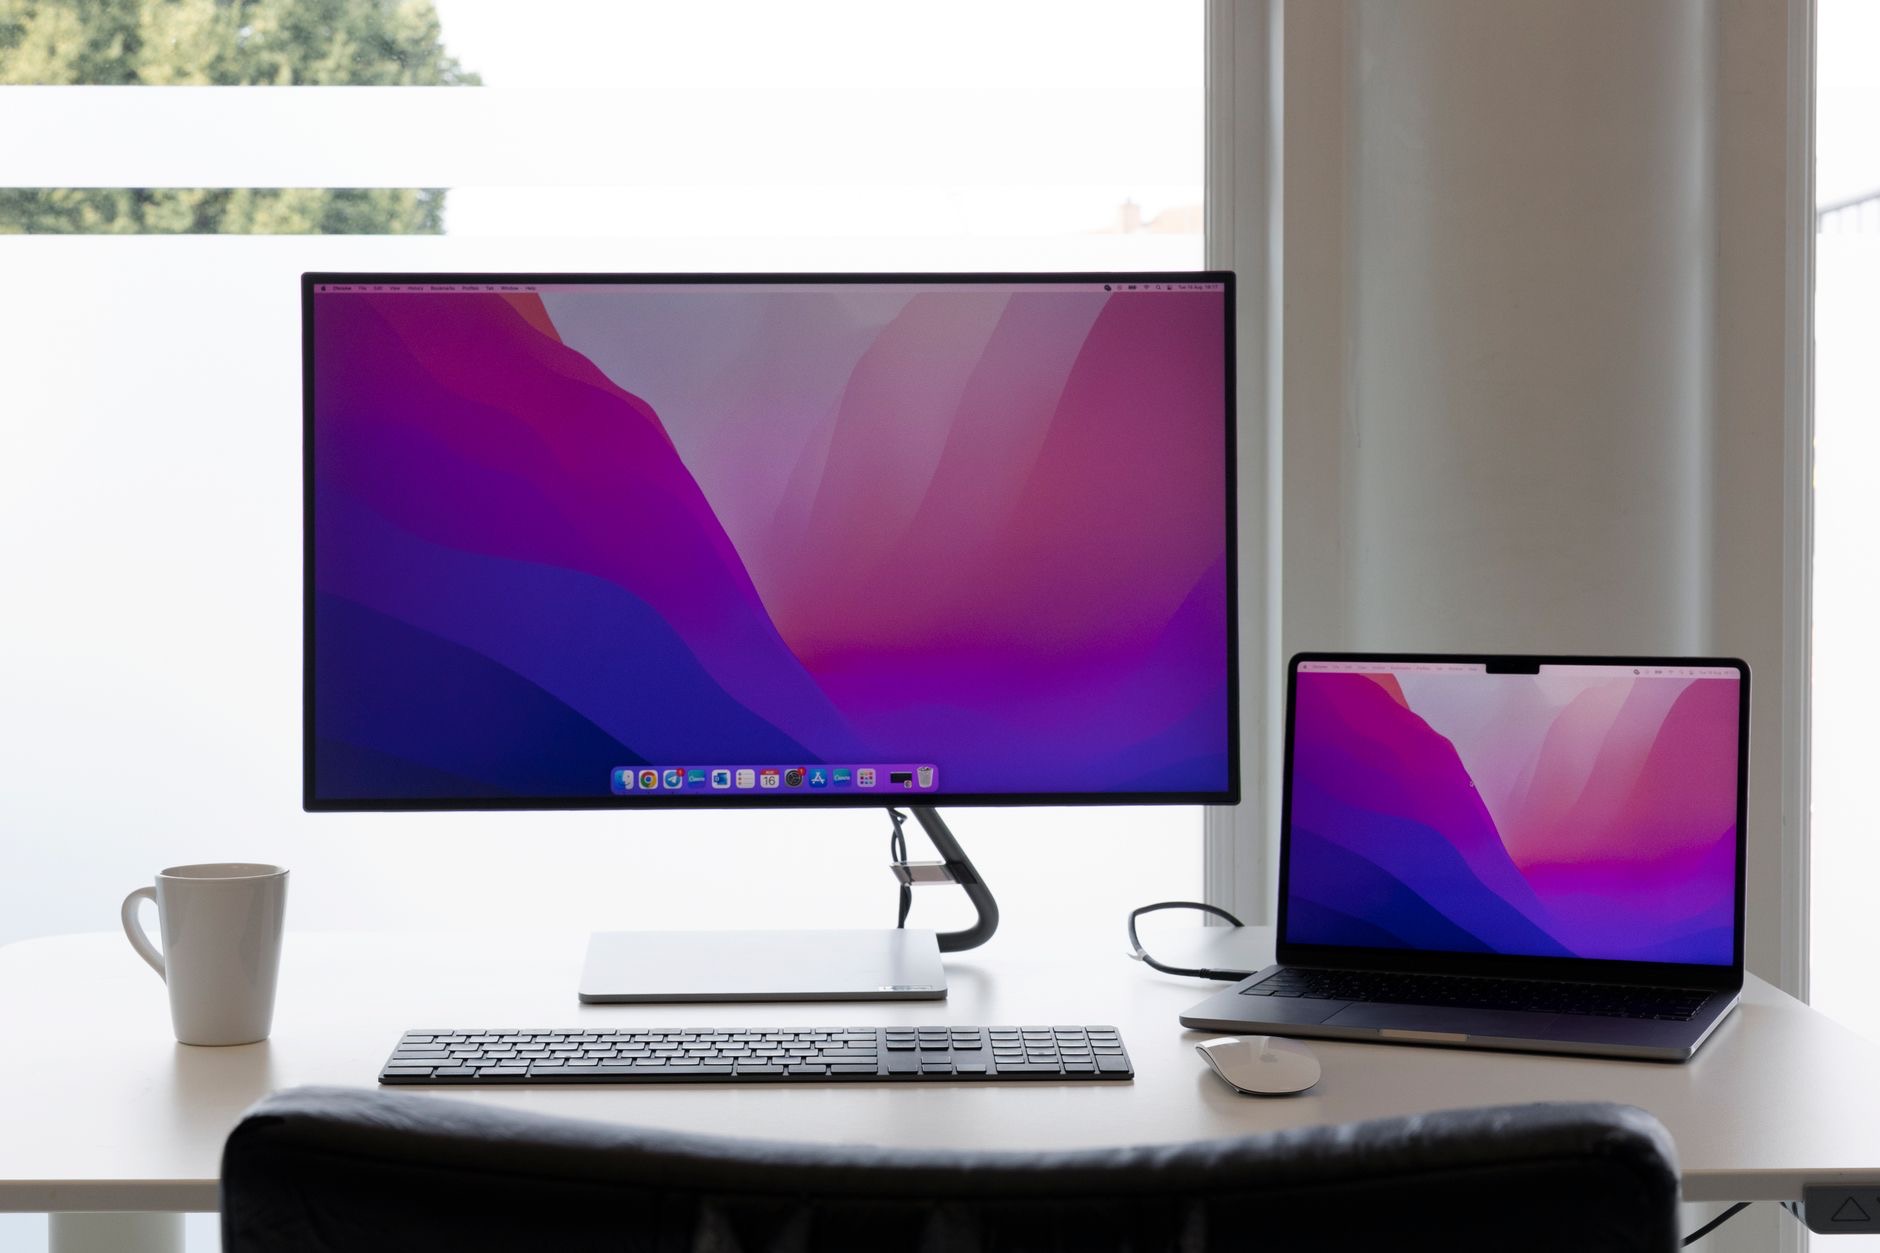
Working all day on a small laptop screen is cramped and tiring, but your MacBook can drive a big, comfortable external monitor with surprisingly little effort. More screen space means less squinting, easier multitasking, and a genuine boost to how much you get done. If you have wondered how to hook your MacBook up to a monitor, it is easier than you think. Here is a simple guide, plus the accessories that make it seamless.
Why a Bigger Screen Changes Your Workday
A larger monitor transforms working on a MacBook. Instead of squinting at a small display and constantly switching between windows, you get room to spread out, see more at once, and work comfortably. It reduces eye strain, makes multitasking effortless, and, when set at the right height, improves your posture too. For anyone who spends hours working, an external monitor is one of the most impactful upgrades available, turning a cramped laptop into a spacious, productive workstation. Once you work on a big screen, going back to just the laptop feels tiny.
What You Need to Connect
Connecting your MacBook to a monitor comes down to the right cable or adapter. Modern MacBooks connect through their USB-C ports, so you need a way to link that to your monitor's input. Depending on your monitor, an HDMI cable with the right adapter, or a hub with an HDMI output, does the job. The key is matching your MacBook's port to your monitor's input. Once you have the correct connection, it is usually as simple as plugging in, and your Mac recognizes the monitor and extends your screen.
★ Editor's Pick · Amazon
HDMI Cable
Connect your MacBook to most monitors and TVs
The Easiest Way: A USB-C Hub
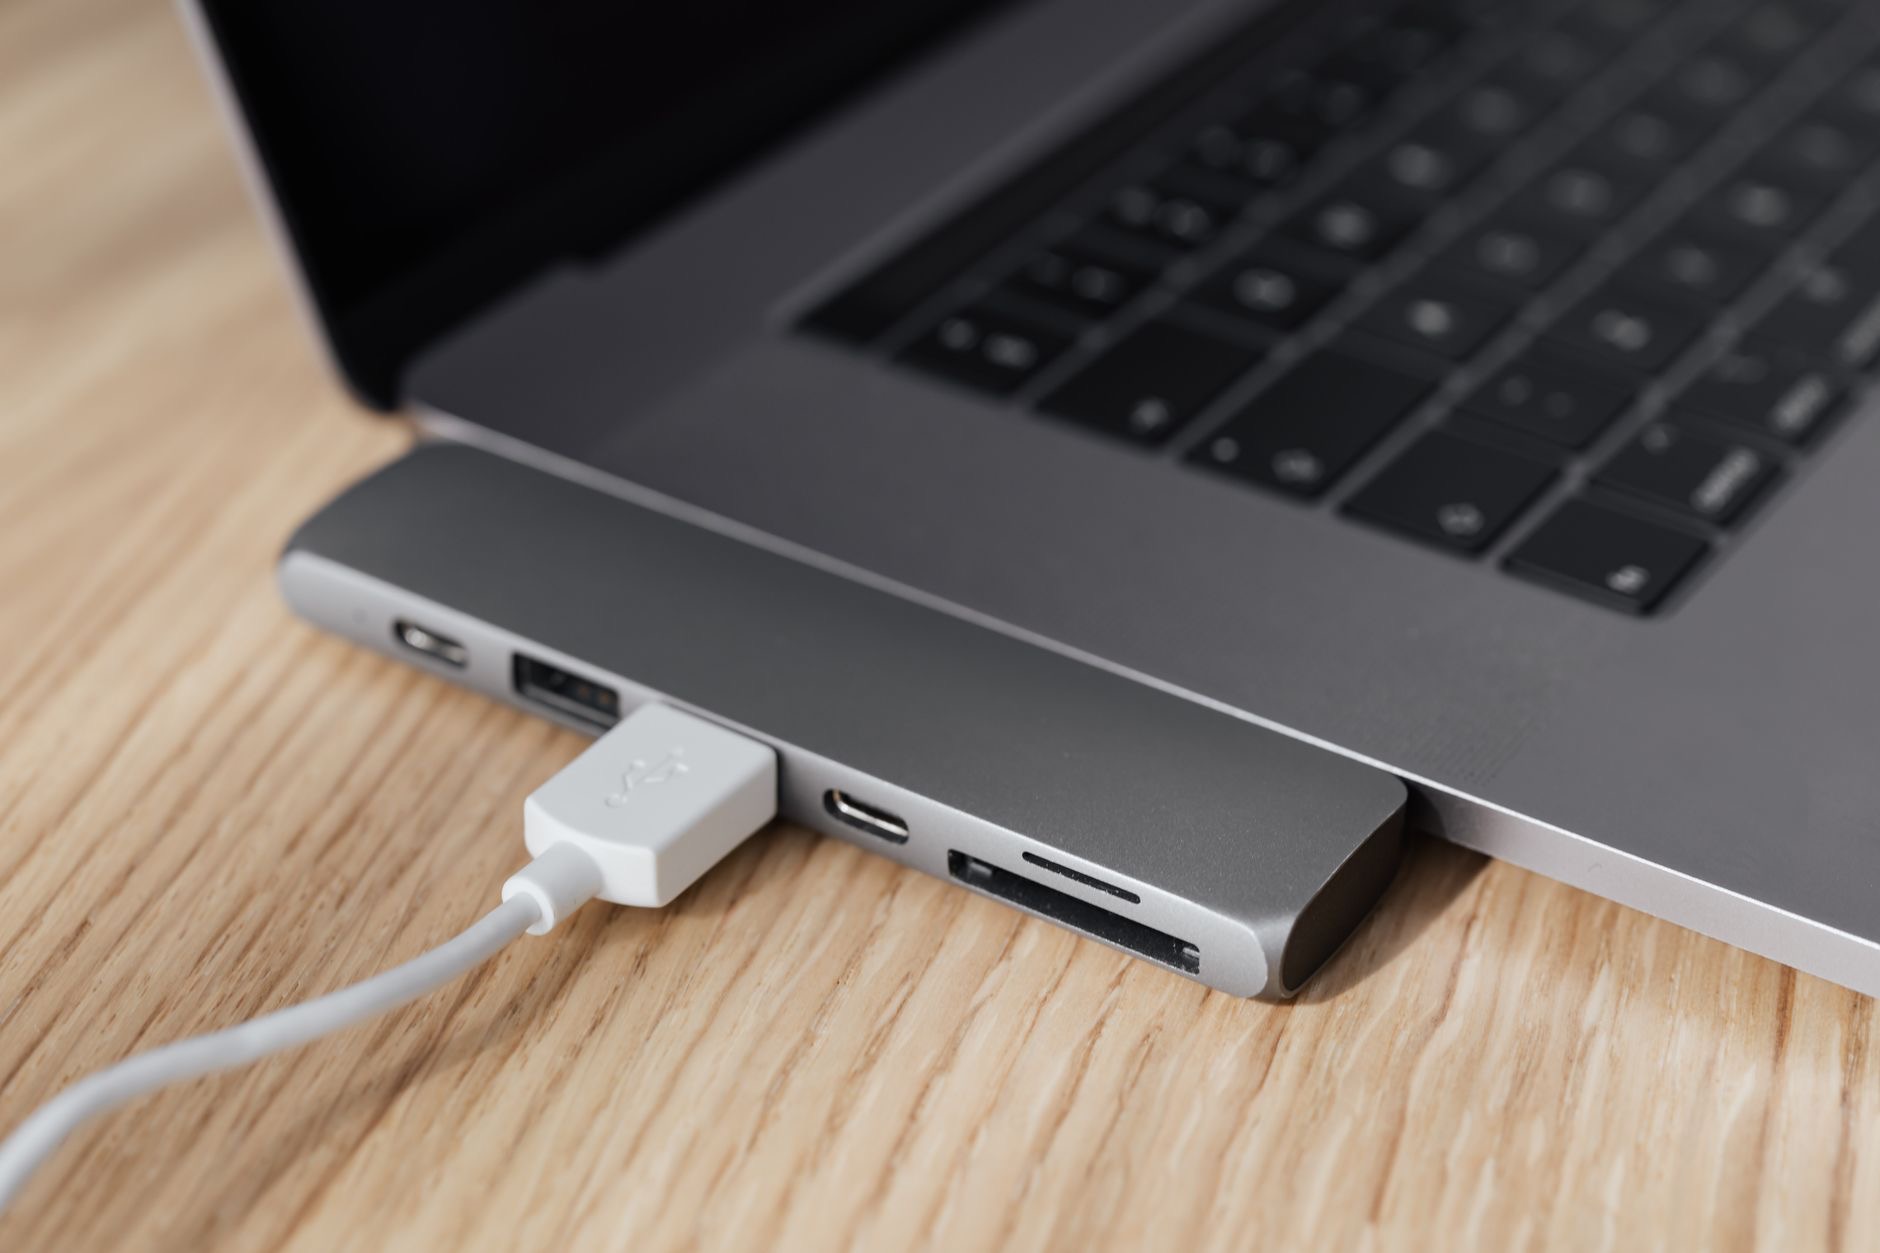
For the smoothest setup, a USB-C hub is invaluable. It plugs into a single port on your MacBook and adds an HDMI output for your monitor plus extra ports for accessories, drives, and more, all at once. This means one connection turns your MacBook into a full desktop workstation, and you can unplug it in a second to grab your laptop and go. If you want to connect a monitor along with a keyboard, mouse, and other gear cleanly, a hub is the tidiest, most convenient solution by far.
★ Editor's Pick · Amazon
USB-C Hub With HDMI
Add a monitor plus ports through a single tidy connection
Setting Up Your Screens
Once connected, your Mac lets you arrange your displays, choosing whether the monitor extends your workspace or mirrors your MacBook. Extending gives you more room by treating the monitor as extra space alongside your laptop screen, ideal for multitasking. You can position where each screen sits so moving your cursor between them feels natural. It only takes a moment to set up, and then you have a smooth dual-screen workflow. Take a minute to arrange your displays the way you work, and everything flows intuitively from there.
Get the Height Right
For comfort, the top of your monitor should be around eye level so you are not looking down and straining your neck. If your monitor sits too low, or you want to use your MacBook screen alongside it at a good height, a laptop stand helps enormously by raising your Mac to match. Combined with an external keyboard and mouse, this creates a comfortable, ergonomic dual-screen setup rather than a hunched one. Getting the height right is the difference between a setup that tires you and one that feels great all day.
★ Editor's Pick · Amazon
Laptop Stand
Raise your MacBook to match your monitor and ease your neck
Troubleshooting a Connection
If your monitor does not show up, a few simple checks usually fix it. Make sure your cable or adapter is fully connected at both ends and suits your monitor's input, since a loose or wrong connection is the most common cause. Check the monitor is on the correct input source. A quick restart of your Mac can help it recognize a new display. And ensure your hub or adapter is compatible with driving a monitor. Working through these basics resolves most connection issues quickly, and then your bigger screen is ready to go.
| What you want | What to use |
|---|---|
| Connect to one monitor | HDMI cable with the right adapter |
| Monitor plus accessories | USB-C hub with HDMI |
| Comfortable screen height | Laptop stand for your MacBook |
| A full desktop setup | Hub, monitor, keyboard, and mouse |
Frequently Asked Questions
How do I connect my MacBook to a monitor?
Use the right cable or adapter to link your MacBook's USB-C port to your monitor's input, such as an HDMI cable with an adapter, or a USB-C hub with HDMI output. Once connected, your Mac recognizes the monitor and you can arrange your displays. It is usually as simple as plugging in.
What cable do I need for a MacBook and monitor?
It depends on your monitor's input. Modern MacBooks use USB-C, so you need to connect that to your monitor, often with an HDMI cable plus the right adapter, or a hub with an HDMI output. Match your MacBook's port to your monitor's input, and the connection is straightforward.
Is a USB-C hub better for connecting a monitor?
For most people, yes, because a hub adds an HDMI output for your monitor plus extra ports for accessories through a single connection. This turns your MacBook into a full desktop workstation that unplugs in a second. It is the tidiest way to connect a monitor along with a keyboard, mouse, and drives.
How do I set up dual screens on a Mac?
Once your monitor is connected, your Mac lets you arrange displays and choose whether the monitor extends your workspace or mirrors your laptop. Extending gives more room for multitasking. You can position where each screen sits so the cursor moves naturally between them. It takes just a moment to set up.
My monitor is not showing up, what do I do?
Check that your cable or adapter is fully connected at both ends and suits your monitor's input, since a loose or wrong connection is the usual cause. Confirm the monitor is on the correct input source, restart your Mac to help it detect the display, and ensure your hub or adapter can drive a monitor.
Should my monitor be at eye level?
Yes, ideally the top of your monitor sits around eye level so you are not looking down and straining your neck. If it sits low, or you want to use your MacBook screen alongside it, a laptop stand raises your Mac to match. Correct height makes a dual-screen setup comfortable all day.
The Bottom Line
Connecting your MacBook to a monitor is easy and transforms your workday, giving you a big, comfortable, multitasking-friendly workspace. You just need the right cable or, best of all, a USB-C hub that adds a monitor plus ports through one tidy connection. Arrange your displays to extend your screen, get the height right with a stand, and add a keyboard and mouse for a full desktop setup. It is a simple upgrade that makes working on your Mac far more spacious and comfortable.
Leave a Reply